

Finding the right assistive technology can feel overwhelming. I get it. With so many options out there, it is hard to know where to start.
In this article, I break down low tech vs high tech assistive technology in plain, simple terms. You will learn what each type means, who benefits most, and how to choose the right fit.
I have worked with educators and families facing this exact challenge, and my goal is to make this simple and clear for you. By the end, you will feel confident making a smart, needs-based decision.
Understanding Assistive Technology and Its Importance
Assistive technology is any tool, device, or system that helps a person with a disability do everyday tasks more easily. It can be as simple as a pencil grip or as advanced as a speech-generating device. The goal is always the same, give people the support they need to function better.
A wide range of people benefit from these tools, including students with learning disabilities, children with physical disabilities, people with autism, adults recovering from injury, and individuals with low vision or hearing loss. The right tool depends on the person’s specific needs, so there is no single solution that works for everyone.
In a school setting, assistive technology can completely change how a student learns. It helps them communicate clearly, read and write with less frustration, stay organized, and work more independently. When students stop relying on constant adult help, their confidence grows and their progress follows.
What Is Low Tech Assistive Technology?
Simple, affordable tools that support learning and daily tasks without needing power or batteries.
Definition and Key Features
Low tech assistive technology includes non-electronic or very simple tools that require no charging, internet, or complex setup. They are affordable, easy to use, and ready to go right away, making them a practical first step for many students and individuals with disabilities.
Common Low Tech Assistive Technology Examples
These tools are widely used in classrooms and homes. Graphic organizers help students plan their writing. Visual schedules show daily activities using overview or words. Pencil grips and adapted pencils make writing more comfortable.
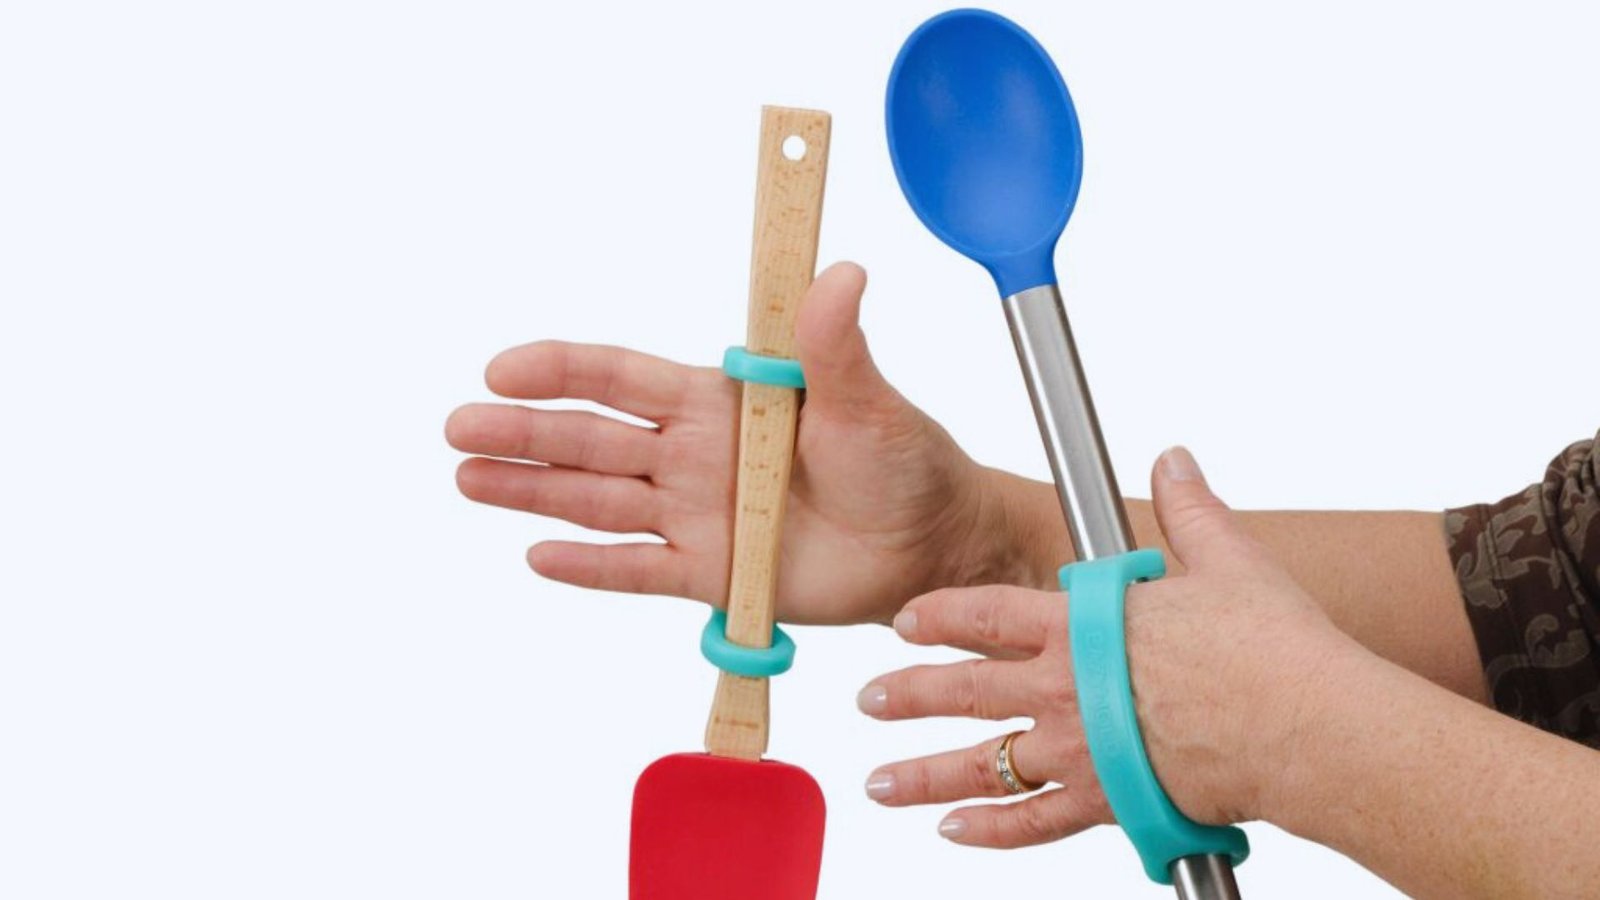
Slant boards improve handwriting posture, sensory tools like fidgets help students stay focused, large print materials support students with low vision, and Velcro supports help those with limited fine motor skills.
Benefits and When Low Tech Is the Best Choice
Low tech tools are affordable, durable, portable, and easy to use with little or no training. They work well in settings where devices are not practical. Low tech is the best starting point when the need is mild or specific. A student who only struggles with grip strength may just need an adapted pencil. Start simple. It works better than most people expect.
What Is Mid Tech Assistive Technology?

Tools that use basic electronics or simple software to support communication, reading, and learning.
Definition and Characteristics
Mid tech assistive technology sits between basic tools and advanced devices. These tools use batteries or basic software but are not as complex as computers or AAC devices. They are more powerful than low tech options but still affordable and easy to learn for most students and teachers.
Examples of Mid Tech Assistive Technology
Mid tech tools are widely used across classrooms and homes. Audio books let students listen instead of read. Screen magnifiers increase text size for easier reading. Adapted keyboards use larger keys or color coding.
Electronic spellers help students find words fast. Word prediction software suggests words while typing, voice amplification systems help teachers be heard, and switch-adapted toys support children with limited movement.
Advantages and Limitations of Mid Tech Tools
Mid tech tools offer solid support without the high cost of advanced devices, making them a great middle ground for many students.
However, some tools need frequent battery replacement, others need basic setup, and teachers may require a little training to use them well. They are a smart step up when simple tools are no longer enough.
What Is High Tech Assistive Technology?
Advanced devices and software that offer the most powerful support for complex learning and communication needs.
Definition and Core Features
High tech assistive technology includes complex electronic devices, software, and systems that often connect to the internet. They can be set up to match each user’s specific needs but require proper training and regular updates to work at their best.
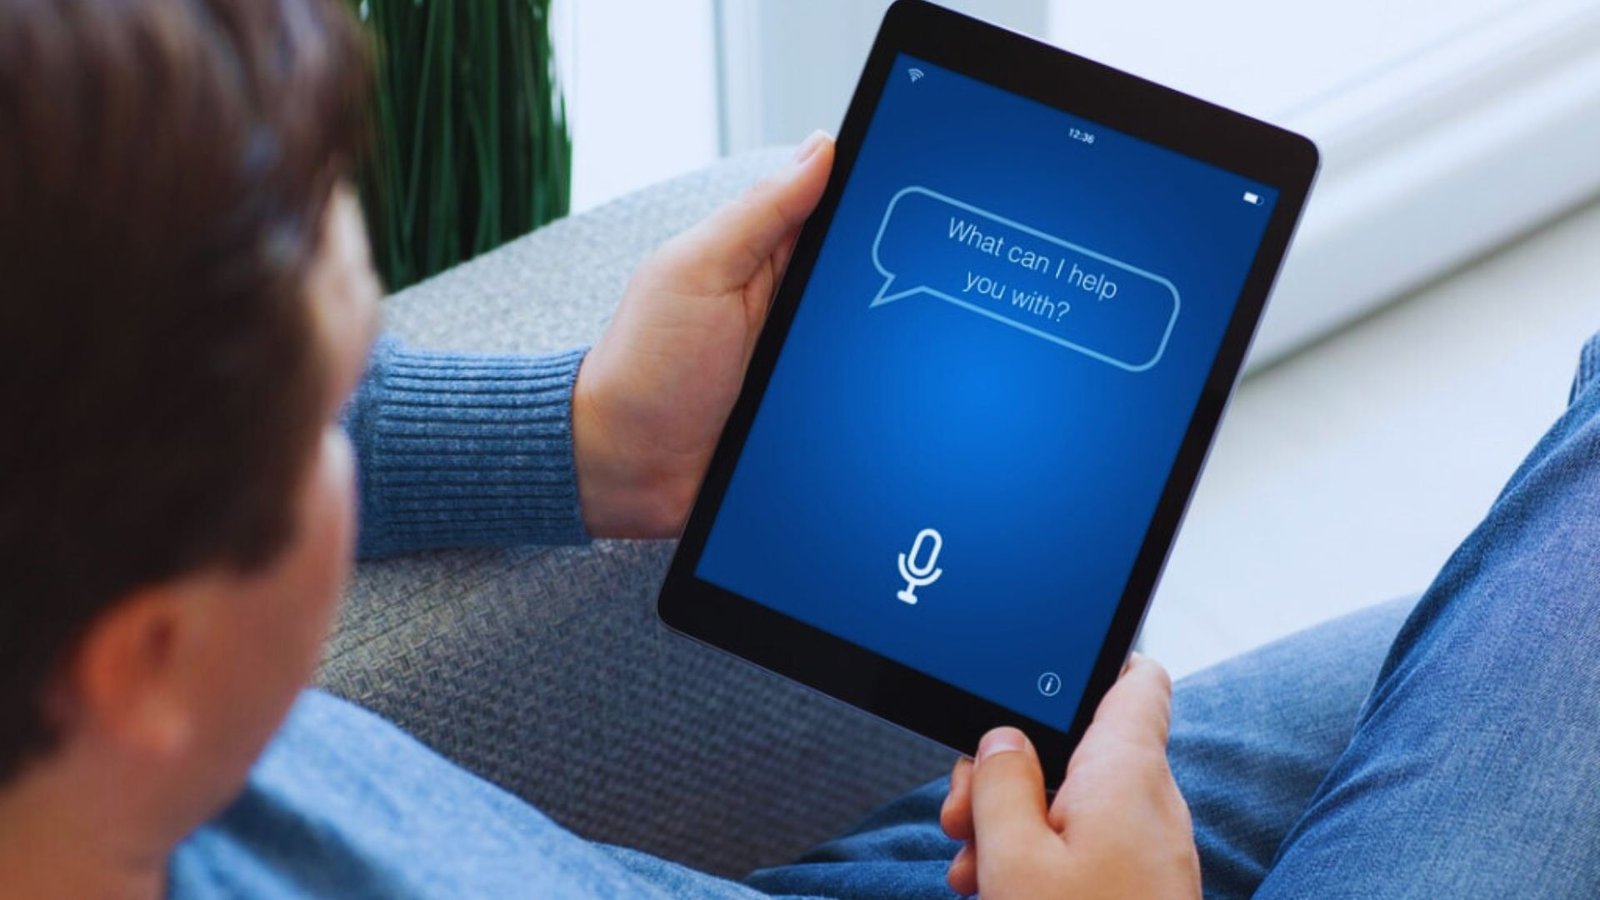
Examples of High Tech Assistive Technology
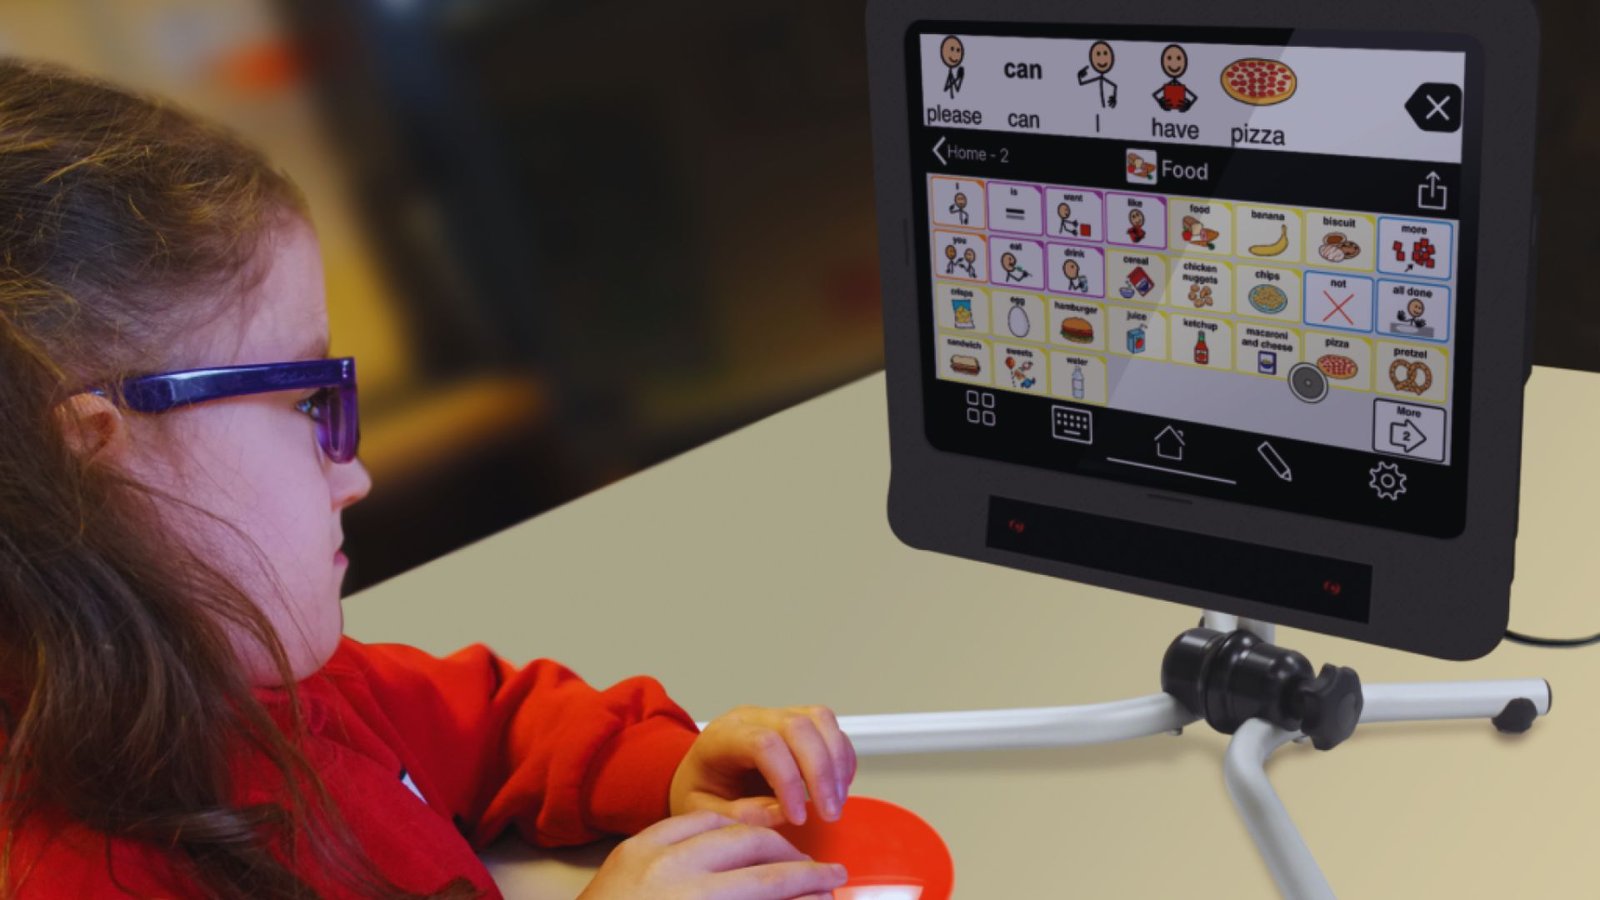
High tech tools cover a wide range of needs. Computers and tablets give students access to learning apps and communication tools. Text-to-speech software reads content aloud in real time, while speech-to-text software types what the student says.
AAC devices help non-verbal individuals communicate, smart boards support group learning, and electric wheelchairs provide mobility for those with significant physical disabilities.
Benefits and When High Tech Solutions Are Necessary
High tech tools offer greater independence, personalized settings, and support for communication, mobility, and learning all in one place. They are built for long-term use across many environments.
High tech is the right choice when simpler tools are not enough, especially when a disability significantly affects a person’s daily functioning.
Low vs High Tech Assistive Technology Key Differences

A quick side-by-side look at how low tech, mid tech, and high tech tools differ in cost, ease, and impact.
| Feature | Low Tech | High Tech |
|---|---|---|
| Cost | Low | High |
| Training Needed | Minimal | Requires training |
| Customization | Limited | Highly customizable |
| Availability | Easily available | May require funding |
| Independence Level | Basic support | High independence |
| Examples | Pencil grip, slant board | AAC device, text-to-speech |
How to Choose Between Low Tech and High Tech Assistive Technology
Practical steps to match the right tool to each person’s specific needs and situation.
Assessing Individual Student Needs
Start with a clear overview of what the student struggles with. Is it writing, reading, communication, or mobility? The challenge should guide the tool choice.
Work with therapists, teachers, and parents to get a full view of the student’s needs.
Considering Budget and Resources
Be honest about what is affordable. Low tech tools are a smart starting point. If more support is needed, look into school funding, grants, or insurance coverage for high tech options.
Matching Technology to Disability Type
Different disabilities call for different tools. A student with dyslexia may benefit from text-to-speech. A student with a physical disability may need an adapted keyboard or switch access.
The tool should match the challenge.
Combining Low, Mid, and High Tech Solutions
You do not have to choose just one. Many students use a mix of tools. A student might use a slant board for writing and a text-to-speech app for reading.
Combining tools often gives the best results.
Practical Tips for Implementing Assistive Technology Successfully
Smart strategies to help assistive technology work well in the classroom and at home.
- Start simple first. Always try the easiest tool before moving to something more complex. It saves time, money, and frustration.
- Track student progress. Check in regularly to see if the tool is helping and if the student is actually using it.
- Train everyone involved. Make sure the student, teacher, and family know how to use the tool well. Do not leave anyone to figure it out alone.
- Review needs over time. A tool that works today may not work a year from now. Schedule regular check-ins to reassess.
- Use it everywhere. A tool only works if it is used at school, at home, and in the community. Keep it consistent across all settings.
- Adjust when needed. If something is not working, change it. There is no one perfect solution for every student at every stage.
Conclusion
Choosing between low tech vs high tech assistive technology does not have to be stressful. I have seen firsthand how the right tool, even something as simple as a pencil grip, can completely change a student’s day.
Start small and build from there. Every level of technology plays a role, and no option is too basic if it gets the job done.
Always think about the person first, then find the tool that fits their needs. If this article helped you, share it with someone who needs it and leave a comment below. I would love to hear your experience.
Frequently Asked Questions
What is the main difference between low tech and high tech assistive technology?
Low tech tools are simple and non-electronic, like pencil grips or graphic organizers. High tech tools are advanced digital devices, like AAC devices or text-to-speech software. Both help people with disabilities but at different levels.
Is low tech assistive technology effective for students with learning disabilities?
Yes. Tools like graphic organizers and visual schedules work well for many students with learning disabilities. They are often the best first step before trying more advanced options.
Who decides which assistive technology a student should use?
A team of teachers, therapists, and parents makes this decision together. They look at the student’s needs, goals, and available resources before choosing the right tool.
Can a student use both low tech and high tech tools at the same time?
Yes. Many students use more than one tool at a time. A student might use a slant board for writing and a text-to-speech app for reading, both work together well.
Is high tech assistive technology always better than low tech?
Not always. The best tool is the one that fits the student’s needs. A simple low tech tool can work just as well as an expensive device. Focus on what helps, not what costs more.